![]()
|
|
Kilnforming Sample Sets
Planning kilnformed glass projects requires a lot of imagination because glass changes when it is fired. It changes in texture, relectivity, and color. A design that seemed like a good idea at the start, often does not come out pleasing at the end. |
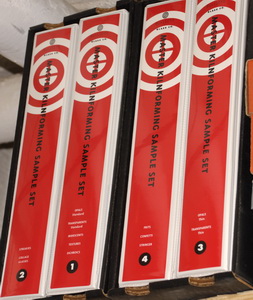 |
| One method I have found that helps me be able to visualize the appearance of the projects after firing, is the creation of a sample set. I use Bullseye glass, and they make very nice sample sets for kilnforming. These sets have a 2" square of each color, and show the appearance of striking glass after firing. As Bullseye adds new colors, sample set updates are available.
I have this sample set, and use it extensively to help me purchase glass. But, I don't find it helpful for designing my projects. |
 |
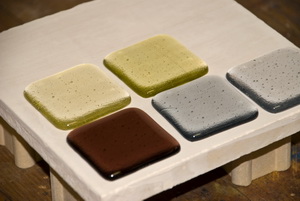
| So, over the years, I have made a secondary sample set that shows the appearance of these colors after fusing. I've found that plastic silverware trays are the perfect way to store these 2"x2" samples. The one pictured here even has a rubber bottom to keep them from slipping. | 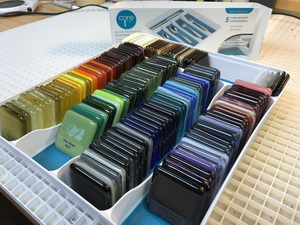 |
| I've found that a 2" square is a good size for this. I lay the colored glass on a 2" square of clear glass and fire to full fuse.
(It is important to draw a template of what kind of glass is in each square before firing. It seems so obvious when you put them in the kiln... but maybe not so obvious when you take them out.) |
 |
| I have a small Paragon SC-2 kiln that is perfect for those situations where I only have a couple of new colors to add to my set that day. Or, these can be placed on any spare real estate on a kiln shelf during firing of another project.
I have made samples of all my commonly used colors, and add new samples every time I get a sheet of a color I haven't used before (which seems to happen with every new crate of glass). |
  |
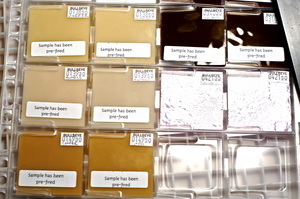
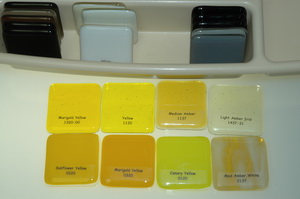
| I then add labels indicating the name of the glass, as well as it's number designation, and any other necessary information. I've found that clear return address labels work very well (Avery 5667). | 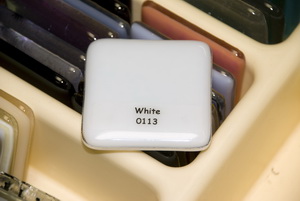 |
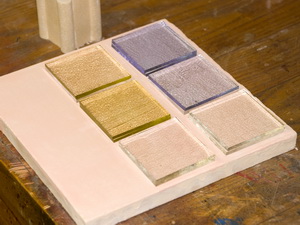
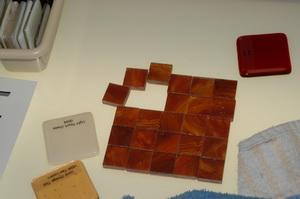
| You might want to also make some combination pieces, depending on what kind of work you make. I am often making 3/8" thick strip cut pieces using tints. So, I make a sample with one layer of tint, and another with two layers of the tint. By combining samples, I can see how one, two or three layers of tint will look. | 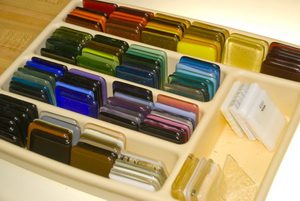 |
Other useful samples include:
What you decide to do will depend on the kind of work you create. |
 |
| Rarely do I start a design without laying out samples to help me visualize the colors and textures. | 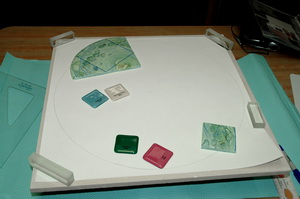 |
 |
|
| You may want to add addional information on your labels regarding chemical reactivity. I have not done this, but instead have printed out the information from the Bullseye web site regarding the characteristics of each glass. I keep this handy, and make sure that I am aware of any potential reactions from adjacent glasses. | 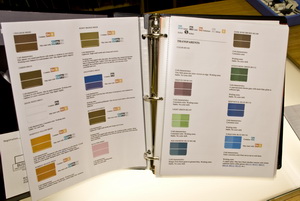 |
